Product recommendation: RayMar Wet Painting Carrier for plein air oil painting

Raymar wet painting carrier
The Raymar 8″ x 10″ wet painting carrier

My plein air experiences began with lugging around a heavy, large French easel that tenuously held only one painting on the easel stand. After doing this a couple of times, I decided that I needed a dedicated wet painting carrier that held multiple panels and was lightweight.

I’d like to mention that I’m not getting paid for this recommendation although I wouldn’t be against that. I just think this is a very good, useful product and it could be a good addition to your plein air equipment.

Why use a wet painting panel carrier at all?

  • To carry and store your wet paintings when plein air painting
  • It’s a necessary piece of equipment especially when you’re producing multiple paintings
  • Convenience! It removes the hassle of carrying a wet painting in your hands

Advantages of using the Raymar carrier?

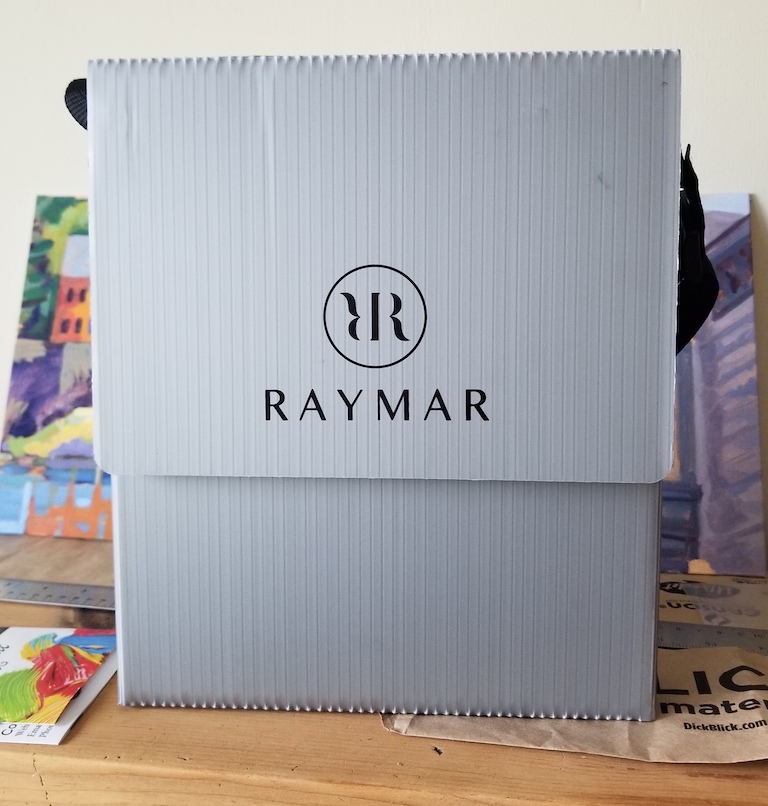
Every company that produces a pochade box most likely makes a wet painting carrier. Sometimes, the panel carrier is incorporated into the pochade box and sometimes it’s an entirely separate item. The problem with both of these options is that they’re heavy. In comes the Raymar wet painting panel carrier. It has 3 slots that can hold six 1/8” painting panels back-to-back (although I only use it for three panels). It’s made of fluted plastic making it lightweight and waterproof.

NOTE: this product holds painting panels not canvases.

As a backpacker, I’m very conscious of how much things weigh and what a drag it is to carry unnecessary weight. This product’s light weight was a big selling point for me. The price depends on the size. I went with the 8” x 10” although they have different size carriers and multi-width carriers. My 8” x 10” set me back $35 (including tax and shipping). This seems a bit pricey for plastic but it’s worth the cost (and convenience) as it’s a very sturdy item.

Inside of Raymar wet painting carrier
Inside of the Raymar wet painting carrier

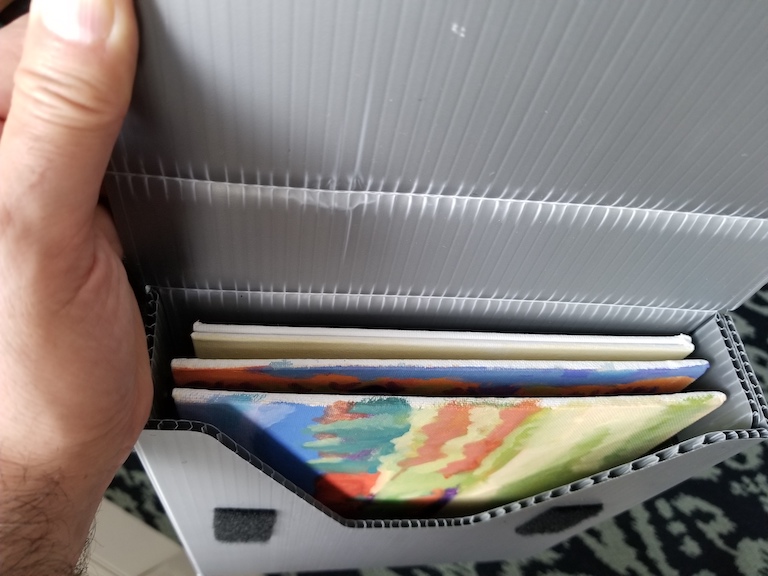
Above is the Raymar wet painting carrier in action. See the two canvas panels in one slot? It has a velcro closing lid and adjustable strap for easy transport

Summary

  1. A dedicated wet painting carrier will simplify your plein air painting process
  2. The Raymar wet painting carrier comes in different sizes (and multi sizes) to hold different size panting panels
  3. The carrier holds up to six panels back-to-back
  4. It’s lightweight and waterproof
  5. More info on the Raymar website at https://www.raymarart.com/collections/wet-painting-carriers

What do you use to carry your wet paintings when painting plein air?

My painting is on view at the “Transformative” Online Art Exhibit at Hoboken Arts

Painting by Frank Silva on view at Hoboken Arts Online Gallery
“Forever” by Frank Silva on view at Hoboken Arts Online Gallery

One of my paintings is currently on view in an online exhibit at Hoboken Arts. The group show titled “Transformative, Picturing Life after the Pandemic” showcases 40 artists and their interpretation of the theme. Each detail of the artwork includes the artist’s description of the piece and its relationship to the theme. Kudos to Hoboken Arts for using this format as the viewer is able to understand the thought process of the artist and what they’re experiencing during this time. Click here for a detailed view of my painting and description. Click here to view the entire exhibit.

The concept

My oil painting titled “Forever” was painted in the early stages of the pandemic. Coincidentally, I had started a series of paintings with the theme of “Isolation” and “Self-Isolation”. This painting deals with isolation in a social setting. I wanted to convey detachment and separation; the figures are together but not interacting with one another. The bar creates a physical separation between two worlds: the world of the patrons and the world of the bar area (or presumably, bartender). The patrons being unaware of what goes on behind the bar.

My painting process

I wanted to create an apathetic mood by using cold blues. I used varying hues and tones of blues and emphasized loose brushwork. The only yellows exist in the figures helping them to stand out against the cool blues of the rest of the scene. To draw the viewer’s attention even further, I added dabs of oranges only on the faces and hands helping to make the figures more relatable.

The show is on view through May 31, 2020

What do you think about the exhibition? Please share your thoughts.

Thumbnail sketches are the answer to your plein air painting problems

Four gray tonal thumbnail sketches

Have you ever worked on a plein air painting only to realize that some serious compositional issues existed halfway through the painting? The purpose of this post is to show you how you can use thumbnail sketches to work out these problems before you lay down any paint.

What are the advantages of using thumbnail sketches?

  • To quickly sketch different views of the subject matter
  • To crop a view to make it more visually interesting
  • Thumbnails help establish a strong composition
  • They reduce visual elements to values and shapes thereby making the painting process easier

What’s the process for creating thumbnail sketches?

I start with a 5b or 6b drawing pencil which allows me to get a dark black. I quickly sketch a small box (approximately 2”x3”) that’s proportional to the canvas or panel that I’ll be painting on. I sketch loosely and reduce the subject matter to simple, large shapes and tonal values. I limit my sketching time to 3 or 4 minutes to avoid getting bogged down with any detail. Finally, I use this thumbnail to lay out my painting.

Using this method I can create different thumbnails from different angles giving me options to choose from. Additionally, these sketches help me decide what view will work out best as a painting.

Examples of usage

Please note the four thumbnails on the top of this post. I’ve sketched out a couple of thumbnails to choose from. I think the top two are boring . The bottom two have a better composition with a strong focal point. But the bottom-right one is a better value study and I chose this one to create a painting.

Below you can see the quick thumbnail sketch that I used to begin the painting on the right. Looking back, I should’ve better developed the different values in the thumbnail.

Thumbnail tonal sketch on the left and beginning stage of the plein air painting on the right

How they improve your plein air painting

  • A thumbnail sketch will quickly show if a view is worth painting
  • Give the ability to crop or change elements that won’t work in the painting
  • Help in the painting process by simplifying the view to simple shapes and tonal values
  • You can quickly rework elements to improve the composition

Summary

  1. When painting plein air, use thumbnail sketches to quickly lay out your painting
  2. Sketch out approximately 2”x3” boxes that match the proportions of your painting surface
  3. Work out any compositional issues in the thumbnail
  4. Establish tonal values in the thumbnail that can transferred to the painting
  5. Use the thumbnail to lay out your painting

Do you use thumbnail sketches when painting plein air? How do you avoid compositional problems?